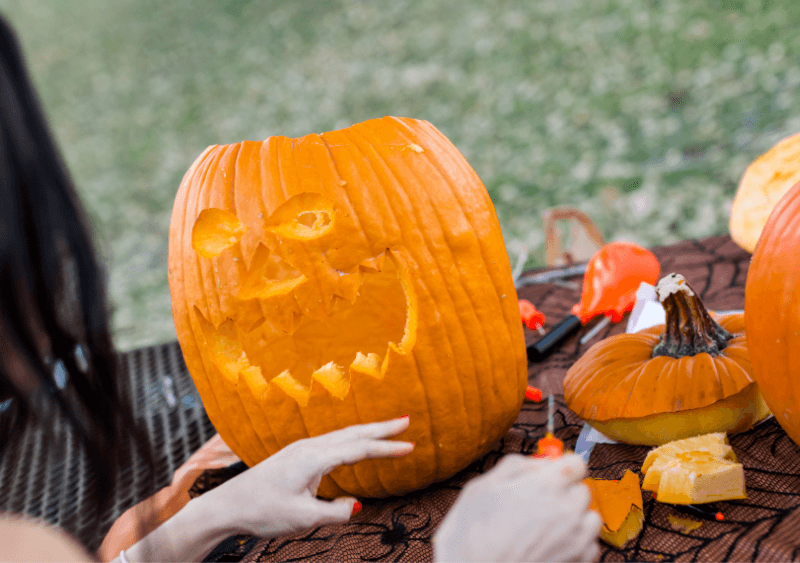
Easy Pumpkin Carving for Kids
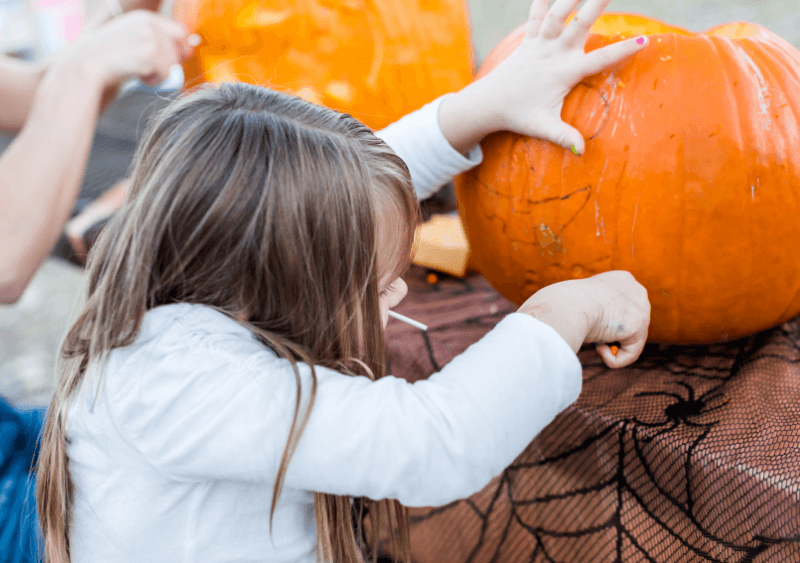
Easy Pumpkin Carving with Kids is so much fun! They get to play with the slimy insides of the pumpkin, then decorate them with their creative carvings! But, have you ever thought about the right way to carve a pumpkin; the one that creates the least amount of mess and still has the kids building memories for a lifetime? I definitely have. That’s why I designed this how-to guide with pumpkin carving for kids!
7 STEPS FOR PUMPKIN CARVING WITH KIDS
Pumpkin carving has always been a tradition in our family for this fun holiday. Even though we spend some time coming up with pumpkin carving ideas for the kids, we like to follow easy steps. Therefore, we created this easy how-to carve pumpkins. Follow the steps below:
- Set up
- Attach a pattern, or draw one on the pumpkin.
- Draw a circle on the top.
- Cut the top off.
- Scoop the guts.
- Start cutting
- Preserve with petroleum jelly.

![]()

![]()

![]()
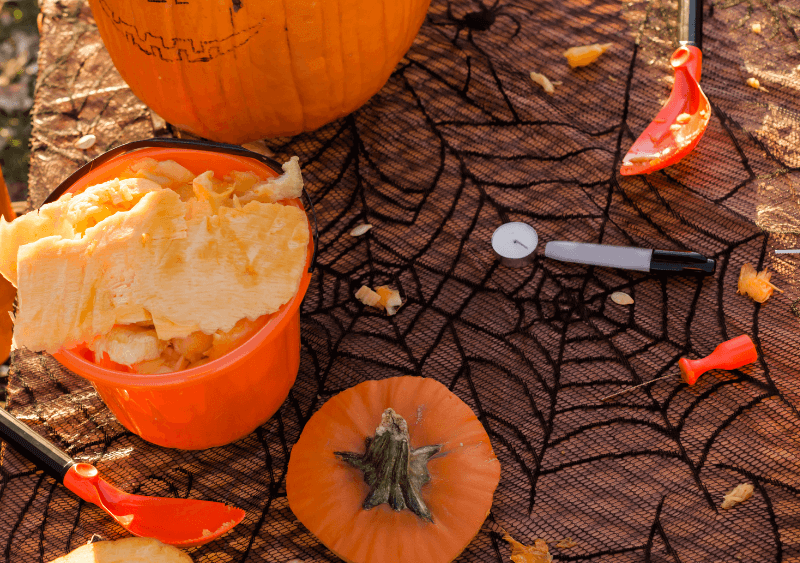
1. Set Up:
Before you get the kids started, gather all of your tools and clean the equipment! Here’s a list of all the things you’ll need
-
- Newspaper
- Dry Erase Marker
- Paper Towel (to wipe off marker)
- Pumpkin Carving Kit
- Large Bowl
- Printed Design (optional)
- Petroleum Jelly (for preservation)
- Old Rag
When you’re done getting all your tools, create your stations for the kids which includes newspaper to cover the table, 1 dry erase marker, 1 paper towel, 1 pumpkin carving kit,1 large bowl to catch the guts, 1 printed design, a small bowl filled with petroleum jelly, and 1 old rag.
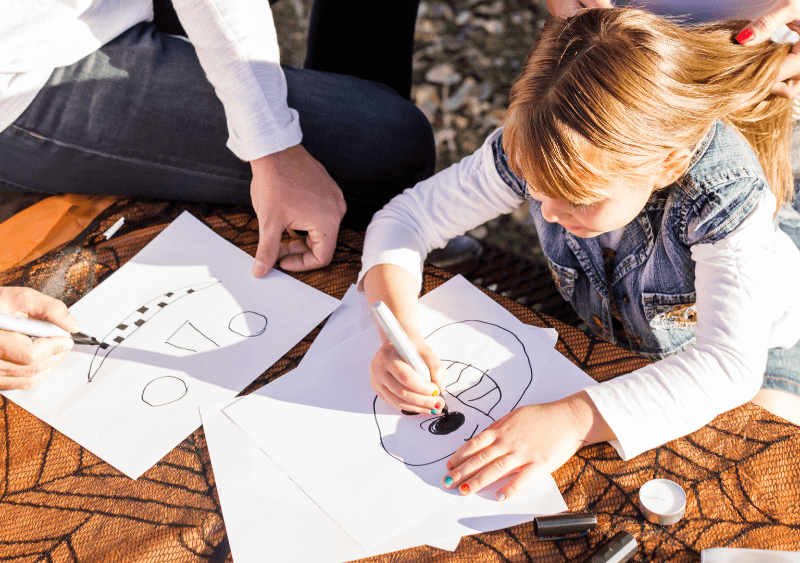
2. Attach a pattern, or draw one on.
For this step, let the kids get creative! They can do so many exceptional drawings, or you can purchase pre-made templates. Once they have their drawing prepared, tack it on with tape, thumbtacks, or Ticky-Tack. Make sure the printout is set perfectly rounded with the pumpkin so it doesn’t come out looking like a lopsided ghoul!
DO YOU NEED PUMPKIN CARVING TOOLS?
No, you don’t need pumpkin carving tools, but they sure make the carving experience easier and more fun. If you want to use what you have at home to carve the pumpkins, then you’ll need a few items to do this.
You will need knives. I recommend using a strong serrated knife, and a paring knife. The serrated knife is great for cutting the top off, and the smaller paring knife is great for small areas like corners and teeth.
Next, you will need a large spoon, or ice cream scoop to scrape the inside of the pumpkin to get the ‘guts’ out.
Stencils are great to draw on your pumpkin, or draw on white paper to create your own.
3. Draw a circle for the top
This step is one of the most important steps to start with. This way your lid fits properly, and you get a perfect circle. When your circle isn’t quite a circle, it won’t fit when you try to place it back on top.
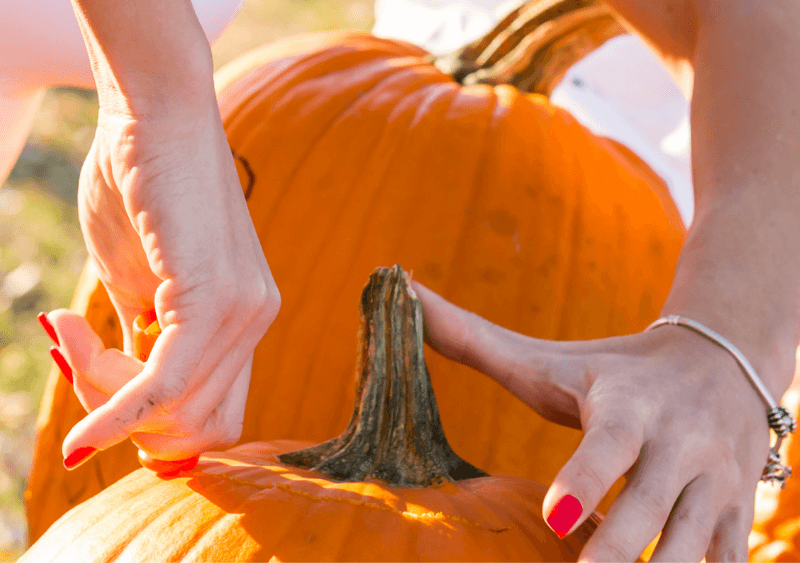
4. Cut the top off along the circle
This step is self explanatory, so I won’t go into much detail. When you’re cutting away at the top, cut along that line so you get a perfect top for later.
TIPS TO CARVING THE PERFECT PUMPKIN
-
- Take your time, slow and steady wins the race.
- When popping out the pieces, use your fingers, not the knife.
- Remember, safety first! Don’t point the knives at others.
- You can use metal cookie cutters to cut extra details into your pumpkins like bats!
- Add stickers, fake spiders, cobwebs, or anything else extra!
- Oh, and if you break off pieces of the pumpkin while carving, put them back with toothpicks!
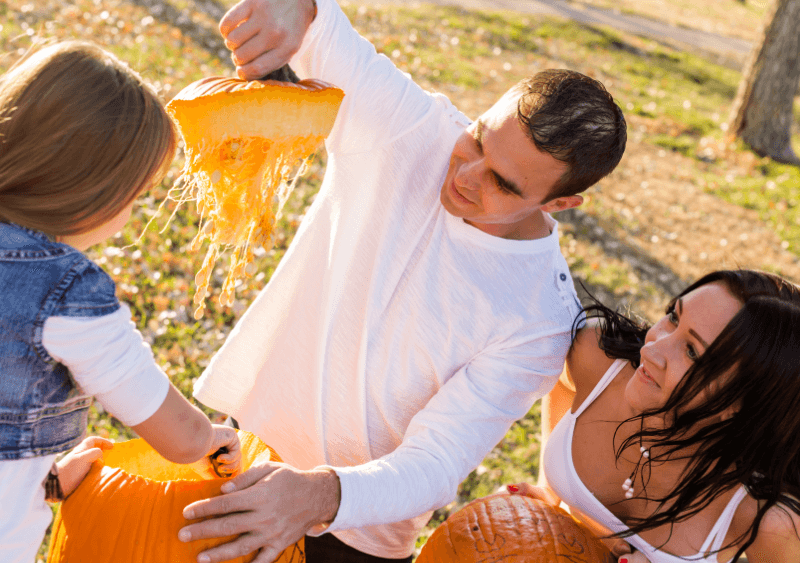
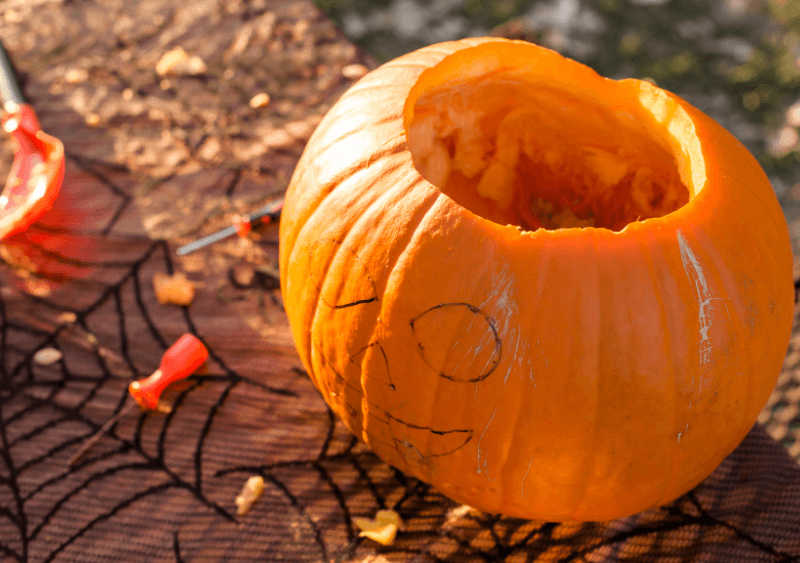
5. Scoop the guts
Carving the so-called ‘guts’ out of the pumpkin is necessary, and for me, the most fun part! I don’t necessarily love the slime and mess, but you get those delicious pumpkin seeds in the end, and I LOVE roasting them. Try out this Roasted Pumpkin Seed recipe! While scooping the guts, make sure to have that bowl handy so you can make this recipe!
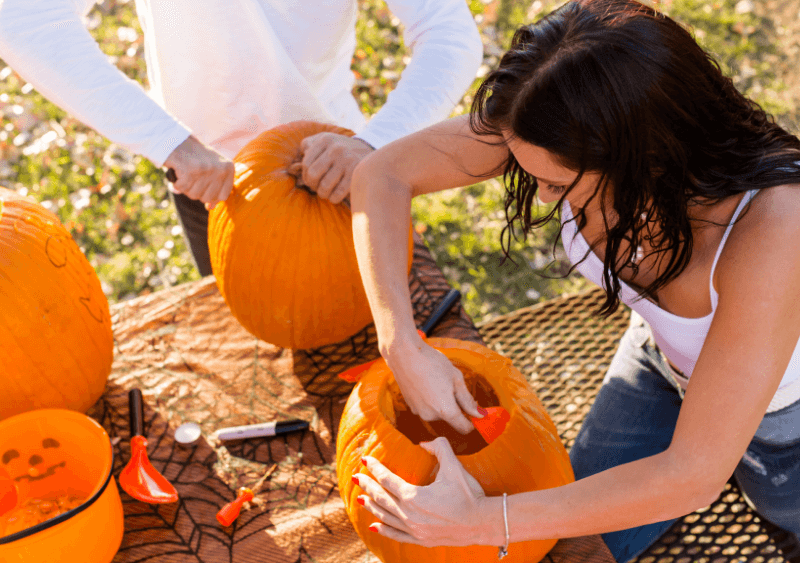

6. Start cutting
Alright, this is where supervision is ABSOLUTELY needed! Your littles will be working with sharp objects, so keep a close eye on their hands and arms. Though this part can be scary, it’s okay to let them have their fun.
Once they’re done carving, wipe them clean with that paper towel to get off the permanent marker. This is also to prepare the pumpkin for the petroleum jelly.
HOW LONG WILL A CARVED PUMPKIN LAST?
A carved pumpkin will last 3-5 days, and can last up to 2 weeks in colder climates.
To extend the life or your pumpkins, coat a thin layer of petroleum jelly on the edges and outside of the pumpkin. This will slow the decaying process.
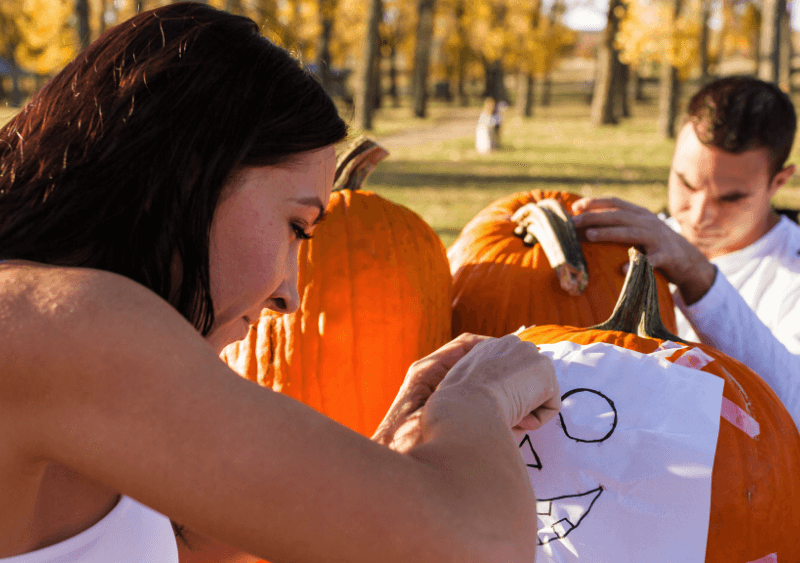
We usually draw the faces on our pumpkins, and leave them out until a few days before Halloween. Then we carve them. This way the pumpkins can last up to two to three months un-carved.
7. Preserve with petroleum jelly
Okay, last step. You may be doing this one on your own now that the fun part is out the way. To make your pumpkins last until Halloween, coat the outside and edges with petroleum jelly. Also, keep them out of the sun as much as possible!
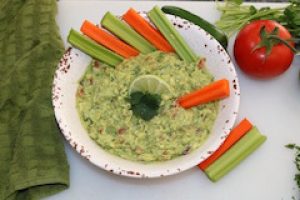
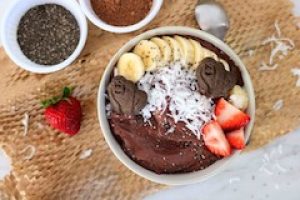
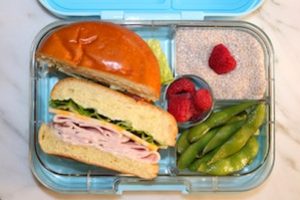
HALLOWEEN RECIPES FROM BUSY LITTLE CHEFS
![]()
![]()
![]()
Leave a Reply
We would love to hear from you!