The kids got creative with this Halloween Graveyard Candy Bark!
There are so many fun things to make for Halloween with the kids. The challenge is what can they make? Sometimes it will take a lot of practice to get the hand skills to make certain treats.
Brody and I came up with some fun ideas for cake pops, but it was difficult to get the coordination for some of the decorating. Instead, we opted for the candy bark. With this one they could have fun without any special techniques to learn.
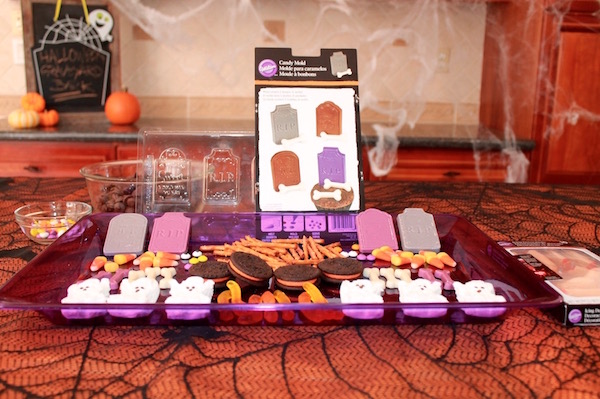
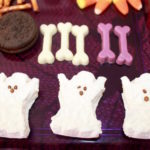
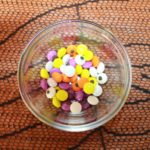
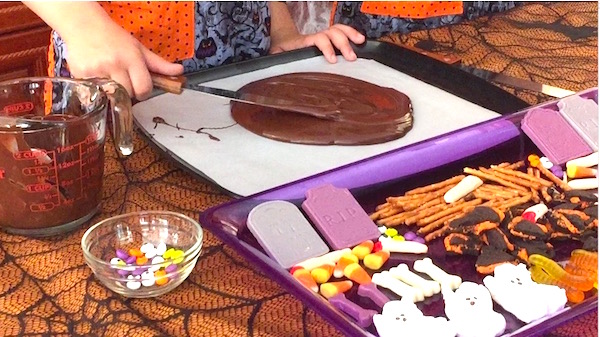
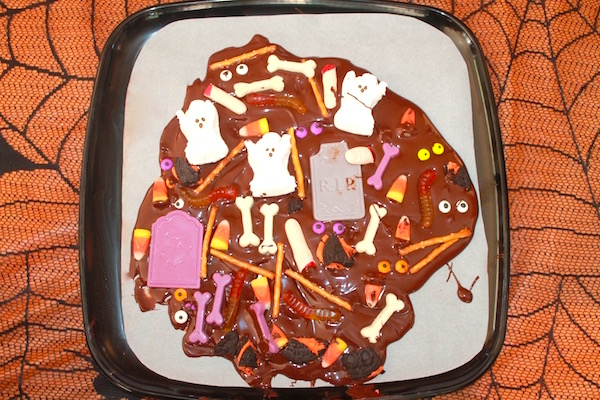
Halloween is such a special time of year, and making treats is such a big part of it for most families. The kids really enjoyed making this, because they got to choose so many sugary and fun decorations. You can choose whatever you like, and the choices are unlimited. Here’s are some the kids chose for their Graveyard Candy Bark.
- candy corn
- marshmallow ghosts
- Oreo cookies
- gummy worms
- candy eyeballs
- almonds
- pretzels
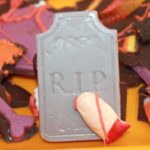
- bones and tombstone molds using candy melts
This recipe was especially fun for the kids because there was no structure, just freedom to create. The kids are in a structured environment most days with school and activities, and have less time to be carefree and creative. No rules!!
We used dark chocolate for our candy bark, which isn’t as sweet as milk chocolate. With all the goodies being added to it, we thought dark chocolate would be a good choice so it wouldn’t be too sweet. Haha!!!! Also, they added salty pretzels and almonds for a different texture and taste.
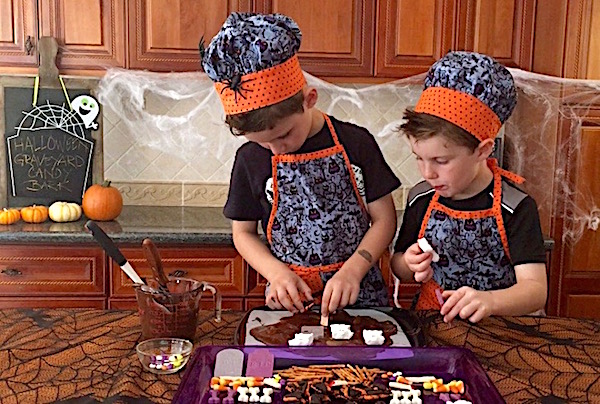
Just randomly add the candy pieces. You will be able to move them around while the chocolate is still wet. Check out Landon on the right, he snuck something into his mouth. A marshmallow maybe??
Voila, an art masterpiece. Why not? Almost looks too good to eat. These tombstones, and the bones turned out perfect. The kids made them very easily with the melted candy melts. We chose purple and white, but any color would look great.
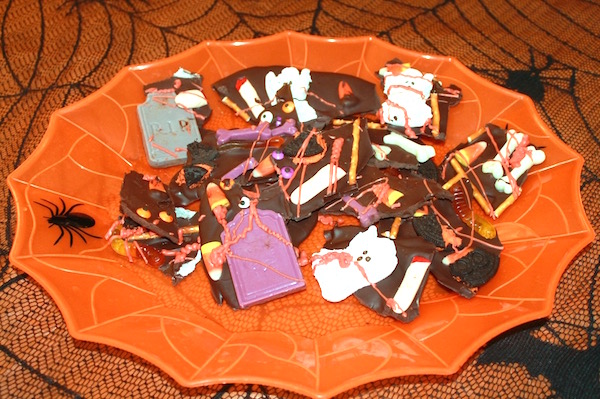
After the candy bark has set, break into pieces. This can make a nice table centerpiece, or put in small plastic bags with an orange ribbon for a gift for friends. This is so impressive, and delicious that your guests will get a kick out of it. It usually becomes a conversation piece.
Check out our other fun Halloween Treat Ideas. Happy Halloween!!!
Let us know if you make this, and leave us a comment below.


Wilton’s Tombstones & Bones Molds Halloween Graveyard Candy Bark
Ingredients
- 1/2 cup purple candy melts these come in a wide variety of color choices
- 1/2 cup white candy melts
- 1-2 teaspoon shortening or oil add this a little at a time, because this will vary by which candy melts you use. you will not want it too runny.
- 2 cups dark or milk chocolate
- variety of candy marshmallows, & pretzels (lots to choose for Halloween)
- 1/4 cup orange candy melts melted
- 1/2 cup purple & white candy melts for tombstones & bones
Instructions
- Put your candy melts in a microwave safe bowl. Heat and stir at 20 second intervals, until almost completely melted. Leaving some lumps, start stirring until all melted and smooth. Add Add the shortening or oil to thin it.
- Spoon or pour into the molds.
- You will need to get the bubbles out. Do this by lifting the mold, and dropping in back to the surface. Do this a few times, you will see the bubbles rise, then disappear.
- Measure and set out all ingredients you will be using.
- Line a cookie sheet or flat tray with parchment paper or wax paper. Choose a size that will fit into your refrigerator.
- Using a microwave safe bowl, add chocolate and heat in microwave for 25 second bursts. Make sure to stir in between. When it's almost completely melted, but still has lumps in the chocolate, take out and stir. By removing it before it's completely melted will ensure it doesn't burn. You don't want to burn your chocolate. Continue stirring until well mixed, and cooling down to room temperature.
- Slowly pour the chocolate onto the parchment or wax paper. Using a spatula, or the back of a large spoon, stat to spread it out evenly. Spread this to about 1/4 inch thickness.
- Start adding your candy decorations. This is random, so make it however you like.
- Now take your orange candy melts, and melt them the same as you did the chocolate. Careful not to burn them. These tend to be on the thicker side than chocolate, so add the shortening or oil a little at a time until dissolved. your candy should have a thinner consistency and easy to drizzle.
- Pour or spoon the melted candy melts into the baggie, pouring into the corner tip. Twist the end, so it doesn't leak out. With your scissors, snip a very small piece from the tip. it may leak when you cut it, so hold it over the bowl.
- Now you're ready to drizzle it over the chocolate. This is your design, so get creative.
- Put in the refrigerator for 30 minutes or until cooled and firm.
Halloween Graveyard Candy Bark
Ingredients
- 2 cups dark or milk chocolate
- variety of candy marshmallows, & pretzels (lots to choose for Halloween)
- 1/4 cup orange candy melts melted
- 1/2 cup purple & white candy melts for tombstones & bones
Instructions
- Measure and set out all ingredients you will be using.
- Line a cookie sheet or flat tray with parchment paper or wax paper. Choose a size that will fit into your refrigerator.
- Using a microwave safe bowl, add chocolate and heat in microwave for 25 second bursts. Make sure to stir in between. When it's almost completely melted, but still has lumps in the chocolate, take out and stir. By removing it before it's completely melted will ensure it doesn't burn. You don't want to burn your chocolate. Continue stirring until well mixed, and cooling down to room temperature.
- Slowly pour the chocolate onto the parchment or wax paper. Using a spatula, or the back of a large spoon, stat to spread it out evenly. Spread this to about 1/4 inch thickness.
- Start adding your candy decorations. This is random, so make it however you like.
- Now take your orange candy melts, and melt them the same as you did the chocolate. Careful not to burn them. These tend to be on the thicker side than chocolate, so add the shortening or oil a little at a time until dissolved. your candy should have a thinner consistency and easy to drizzle.
- Pour or spoon the melted candy melts into the baggie, pouring into the corner tip. Twist the end, so it doesn't leak out. With your scissors, snip a very small piece from the tip. it may leak when you cut it, so hold it over the bowl.
- Now you're ready to drizzle it over the chocolate. This is your design, so get creative.
- Put in the refrigerator for 30 minutes or until cooled and firm.




2 Comments
Leave your reply.