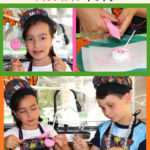
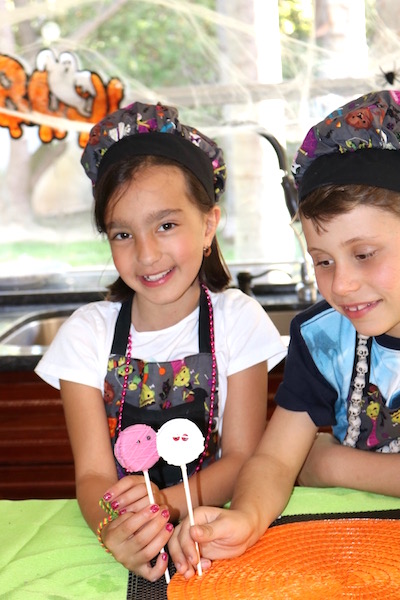
We just love how cute these Oreo Cookie Mummy Pops are!
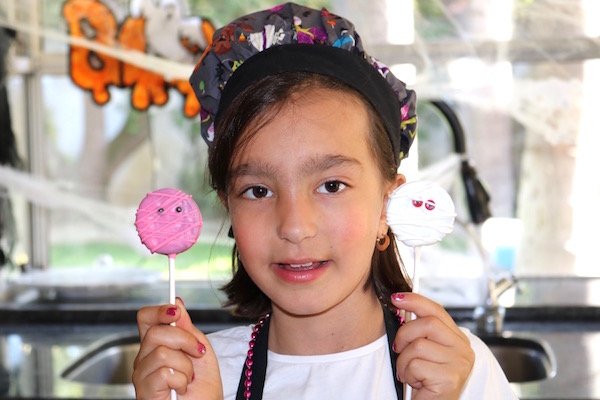
What kid doesn’t love Oreo cookies? Actually, I feel most people do. We’ve used them as a crust for our Mini Oreo Cheesecakes Pies. Brody and I talked about doing something new with them for the show. I’ve seen these Oreo Cookie Mummy Pops all over social media, so I thought the kids would love this. The friend that we thought would be perfect was one of our past Busy Little Chefs. Olivia, an Oreo cookie lover. You can check her and Brody out making Watermelon Slushy Bowls.


Click on gallery to view image larger.
Now these little cuties look so easy to make. They are for the most part, but we did run into a little trouble and we figured it out very quickly. The cookies seemed very secure on the stick when we put it into the filling between the cookies. Then as soon as we dipped it into the candy melts the cookie slid down the stick. Waaaa, this happened a couple of times so we decided to put the stick dipped in white candy melts into the cookie and freeze it for 5-10 minutes. That did the trick. Easy-breezy!
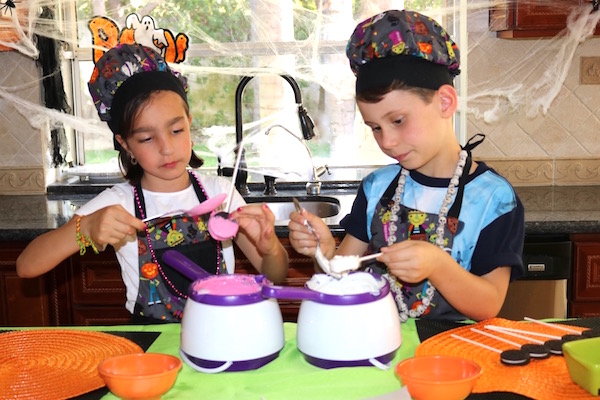
Brody and Olivia picked up this skill very quickly, and they were in Oreo Cookie Mummy Pops making mode. Phew, try and say that 5x fast. :-).
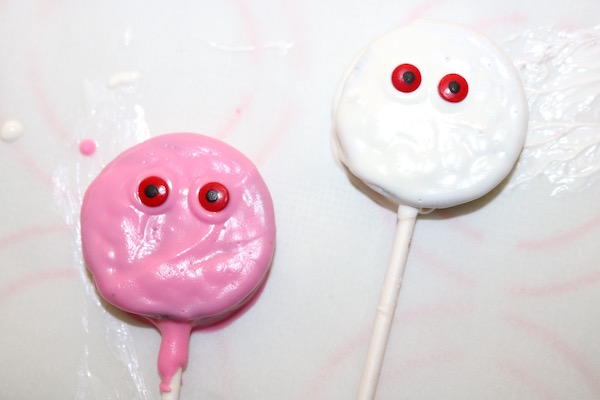
After you dip them, apply the eyes while still wet. Then let rest on parchment paper until dry. This is the fun part, and they can get creative with different colors.
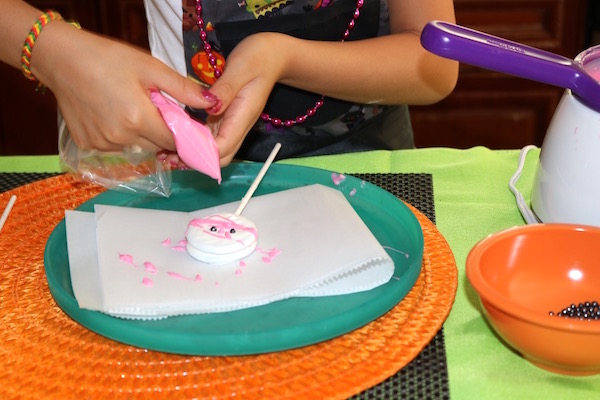
With the melted candy melts in the bag, zig zag back and forth side to side, then on an angle creating a mummy pattern. This may take a little practice, so you may want to let the kids practice first on the parchment paper. Let the bag rest in their hand, giving it a light squeeze, and move the hand back and forth creating the mummy pattern.
How cute are these? Let us know how making these worked out for you. Happy Halloween!

Oreo Cookie Mummy Pops
Ingredients
- Oreo cookies double stuffed
- white candy melts can also use white chocolate
- hot pink candy melts
- candy eyeballs
Supplies
- lollipop sticks
- Wilton melting pots, or a microwavable bowl
- ziplock bag
- spoon
- scissors
- parchment paper
Instructions
- Melt 1-1 1/2 cups candy melts either in the Wilton melting pot, or in a microwave safe bowl stirring in 30 second intervals until almost melted. A few lumps are ok, just stir and they will dissolve.
- Add a teaspoon of shortening to the melted candy to smooth it out. It will probably be very thick before this step.
- Twist to open the cookies apart, and lay them flat.
- Dip the lollipop stick about 1/2 inch into the melted candy melts. Then press it into the center of the cookie., and add the top of the cookie on top of the stick and give it a light press.
- Next, set them on tray or plate, and set them into the refrigerator for 10-15 minutes. This way the cookie won't slide down the stick from the hot candy melts.
Piping Bag
- Hold the ziplock bag in your hand, or put into cup and fold the end down, so the candy melts slide right into the corner of the bag.
- Cut a small tip of the end, and give it a light squeeze to get it started. Set aside.
Dipping the Oreo Cookie Pop
- Just out of the refrigerator, dip into the pot of melted candy melts and tap the stick to let the excess drip off. Use the spoon if you can't get the edges.
- Lay the cookies on a try lined with parchment paper, and put the eyeballs in place while still wet. Set them back into the refrigerator for 10 minutes so the candy melt to set and harden.
- When dry, take your piping bag back and forth across the mummy, and cross back the other way to create the bandage effect.
- Let dry, and they're ready to eat.


Leave a Reply
We would love to hear from you!